As a result of the GDPR, which went into effect on May 25, 2018, anyone who wants to register for an event must agree to our Privacy Policy and Terms& Conditions on the registration page.
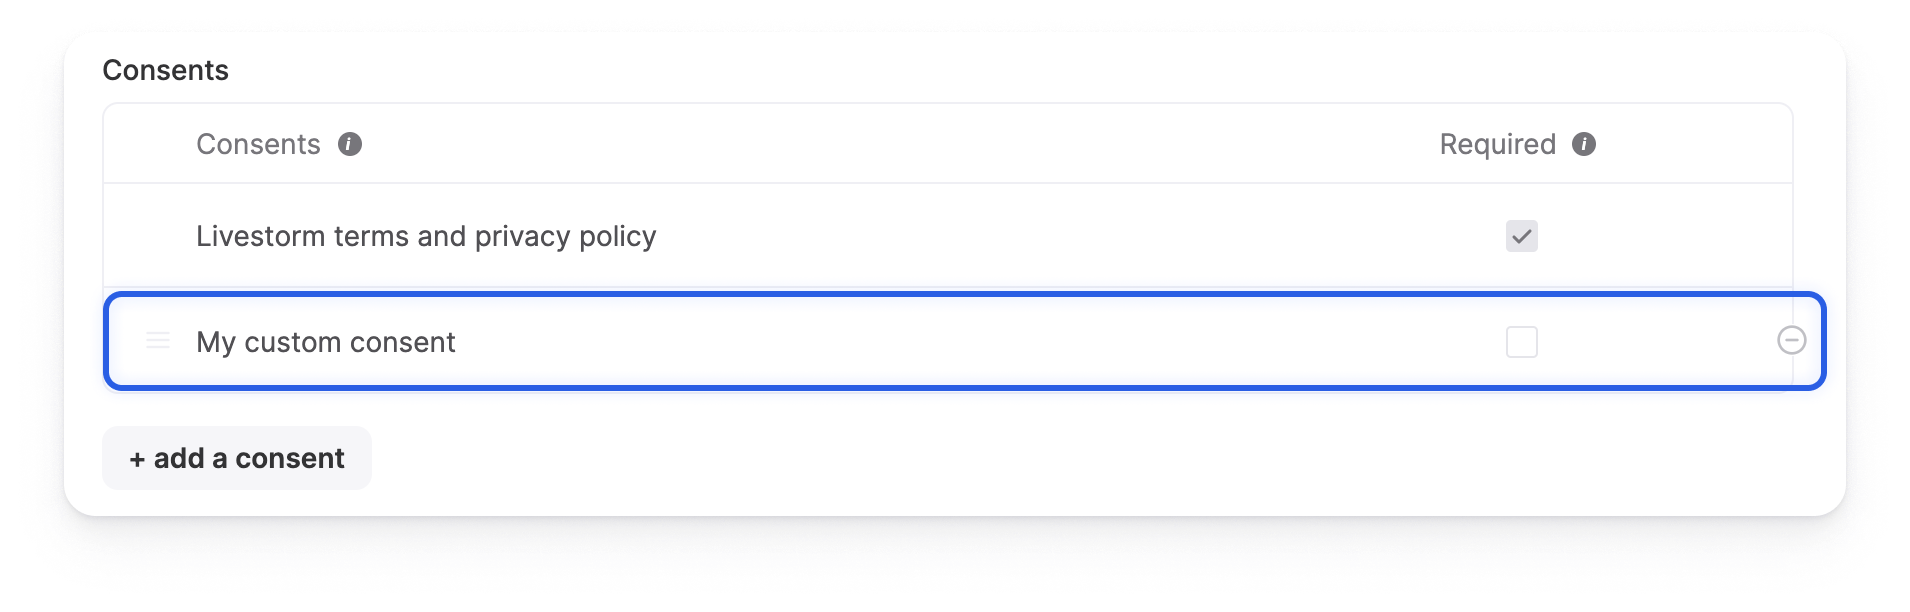
The 'Livestorm terms and private policy' field can not be deleted on your registration form, but you can add your own custom consents in your workspace and then use them in the registration pages of your events.
For more information on Livestorm and the GDPR, please check out our dedicated blog post.

In this article
Create Custom Consents in Your Workspace
You can create your custom consents either from your event registration settings or from the People attributes page. Both methods will direct you to your Account setting > People attributes.
Custom consents are created on your workspace. You can then add them to each of the registration forms of your events.
The answers to the custom consents are grouped and associated with each of your registrants on the People page.
- 1
- To create custom consents in your workspace from your event registration settings:
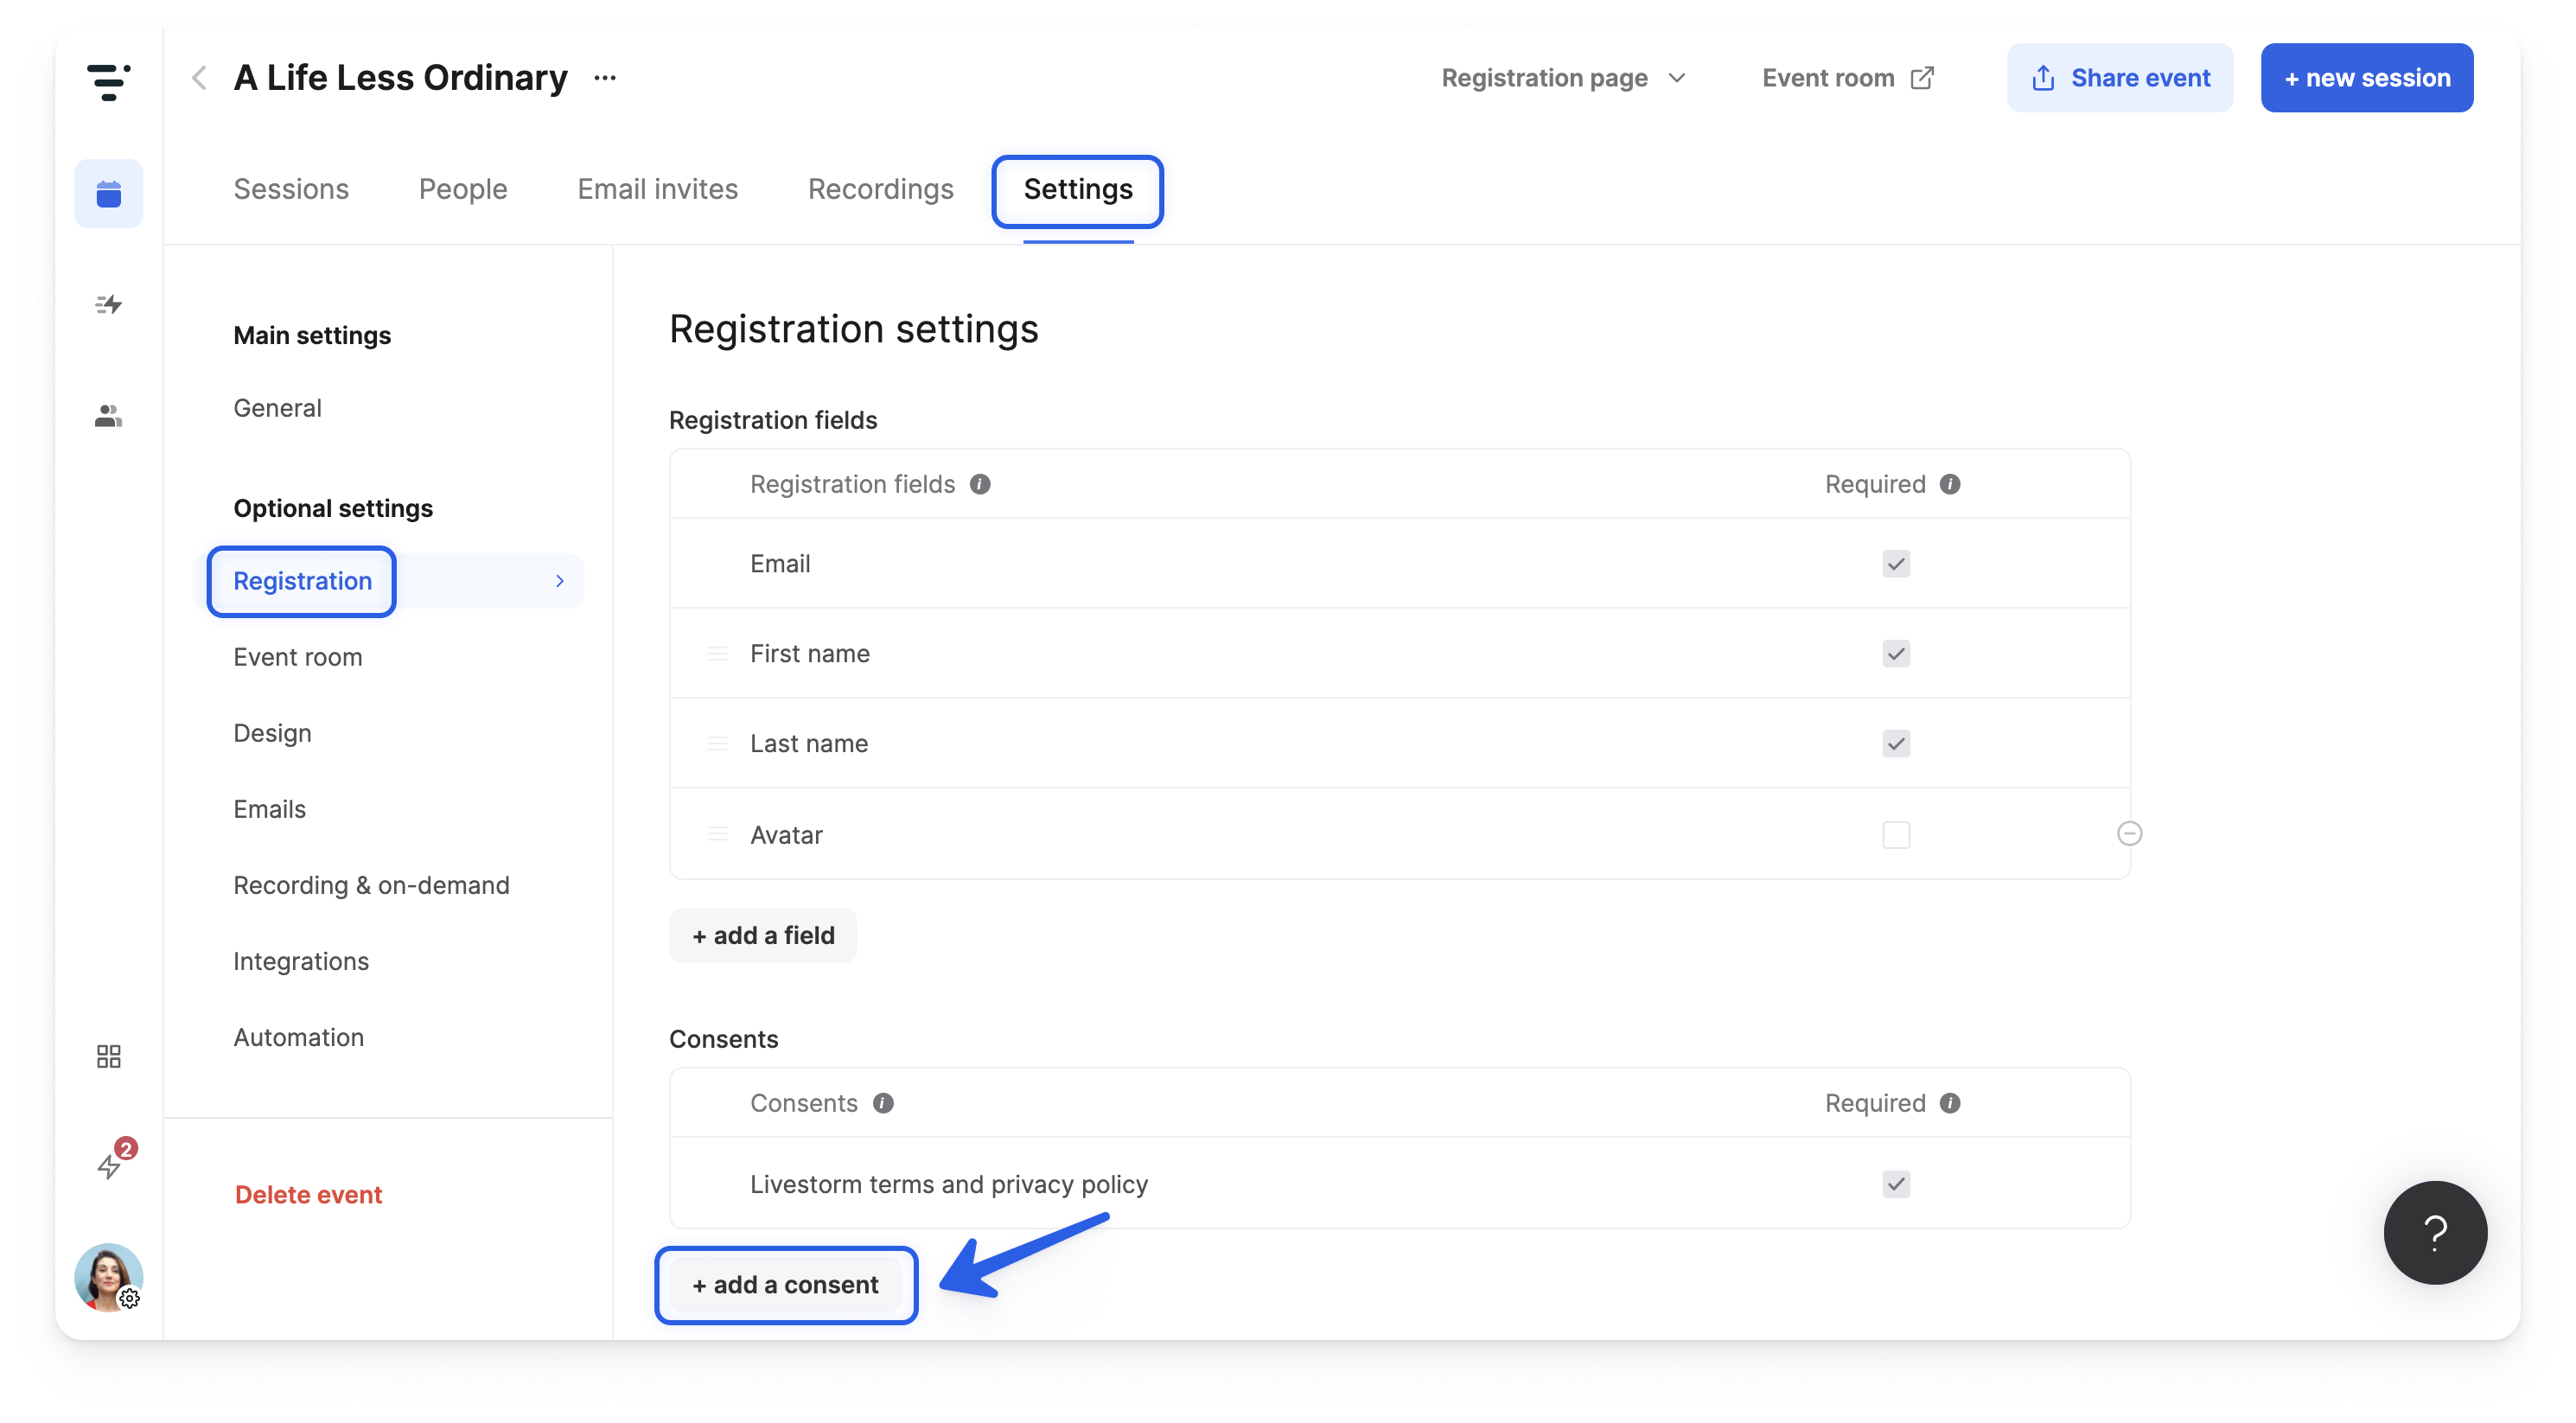
- Go to your Event Settings > Registration
- Click on + add a consent
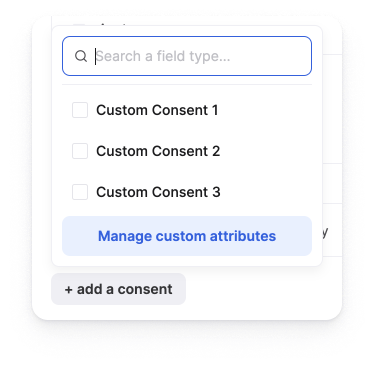
- Click on Manage custom attributes
 To create custom consents in your workspace from your People attributes page:
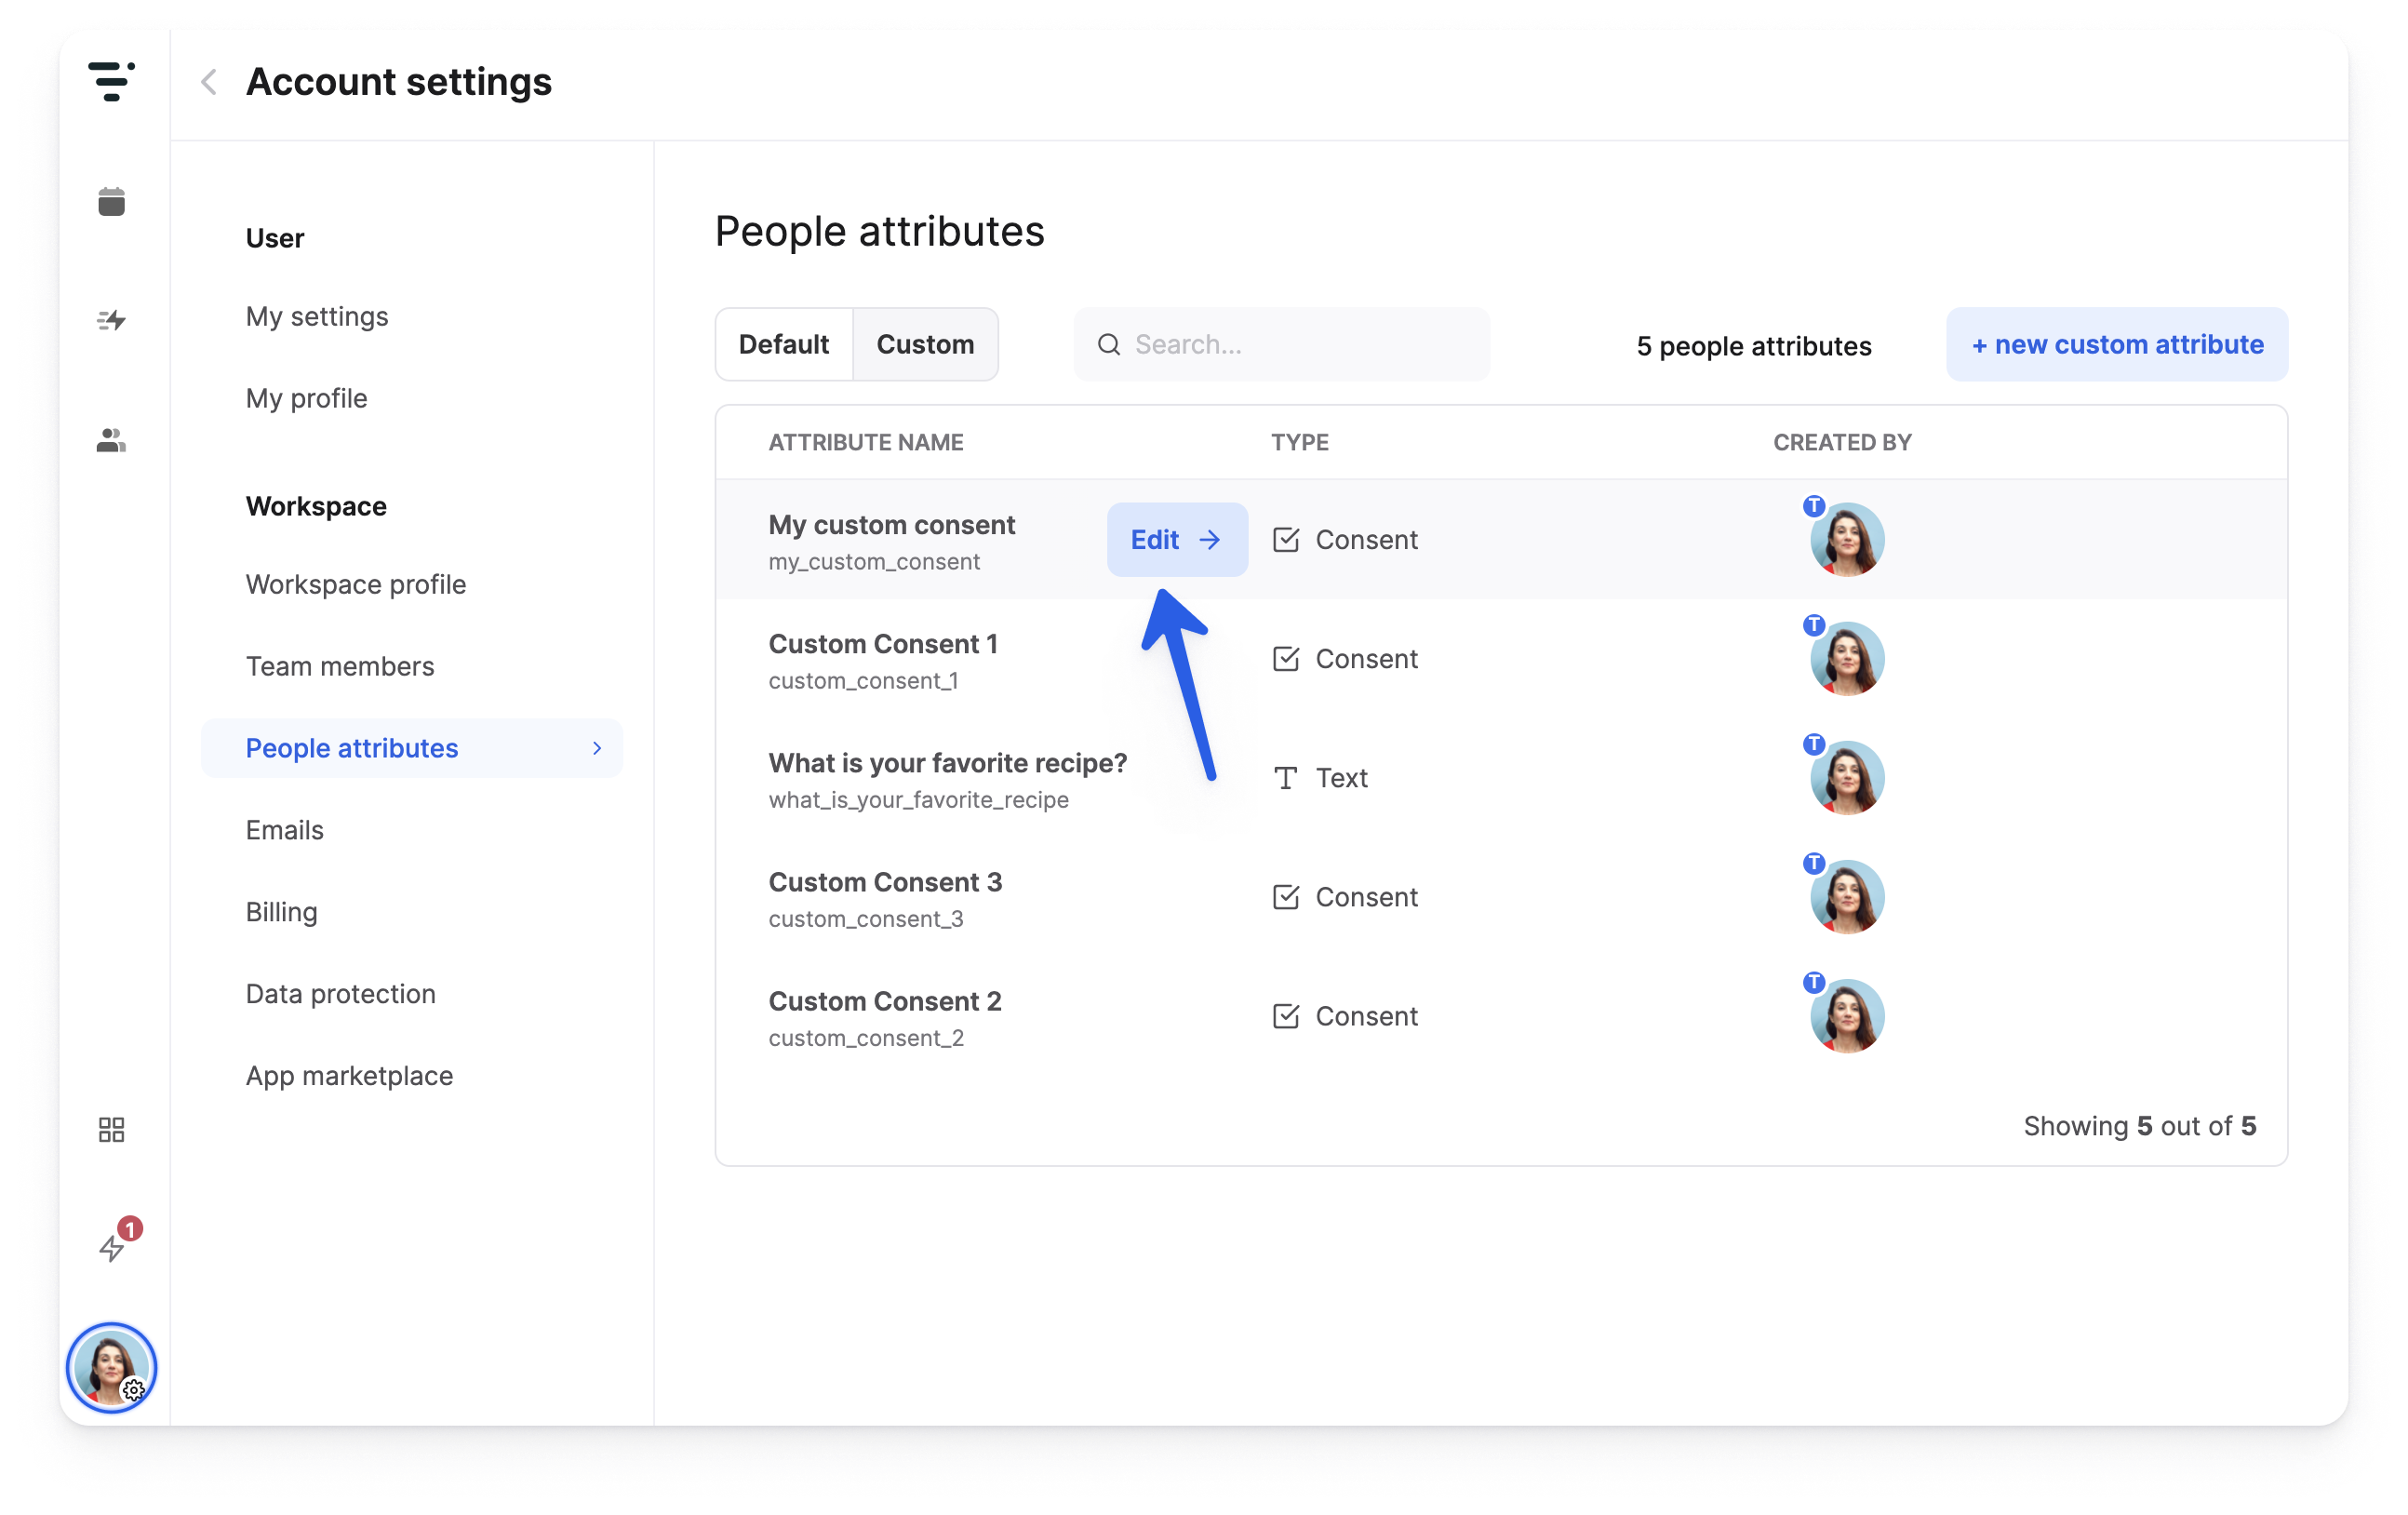
- Go to your Account Settings > People Attributes
- Click on + new custom attribute
- 2
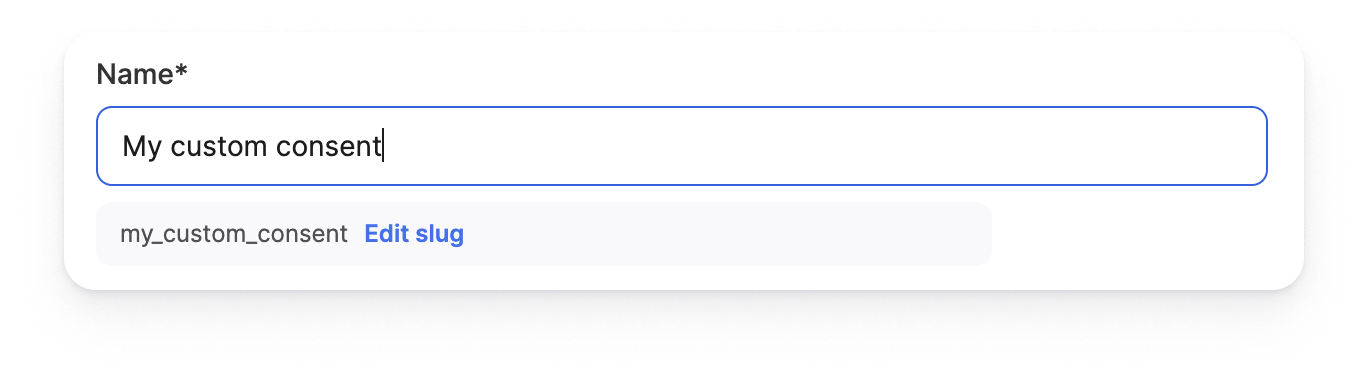
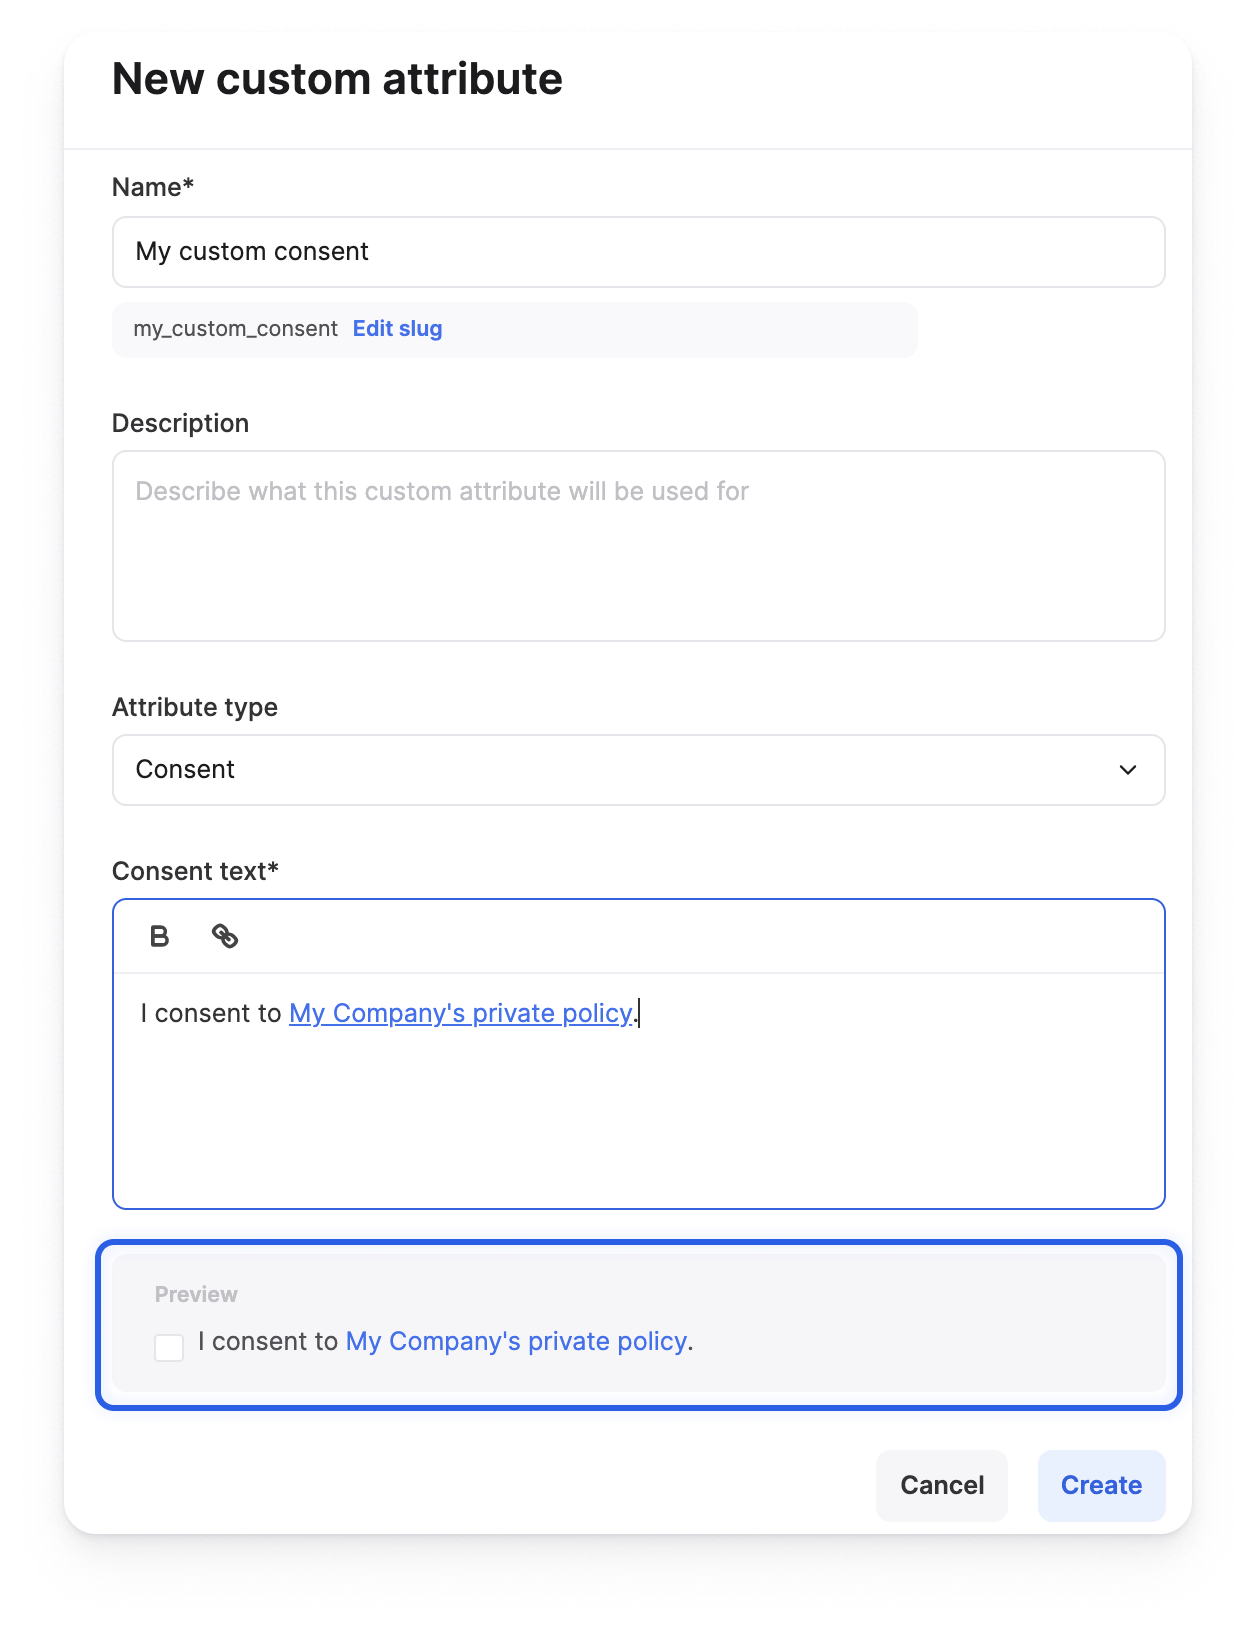
- Name your custom consent and edit the slug if necessary.
- You will still be able to edit the name after. Note that it is possible to have several custom consents with the same name.
- The slug is unique for each custom consent and you won't be able to edit the slug once you've created your custom consent.
-
- 3
- Enter a description (optional).
- 4
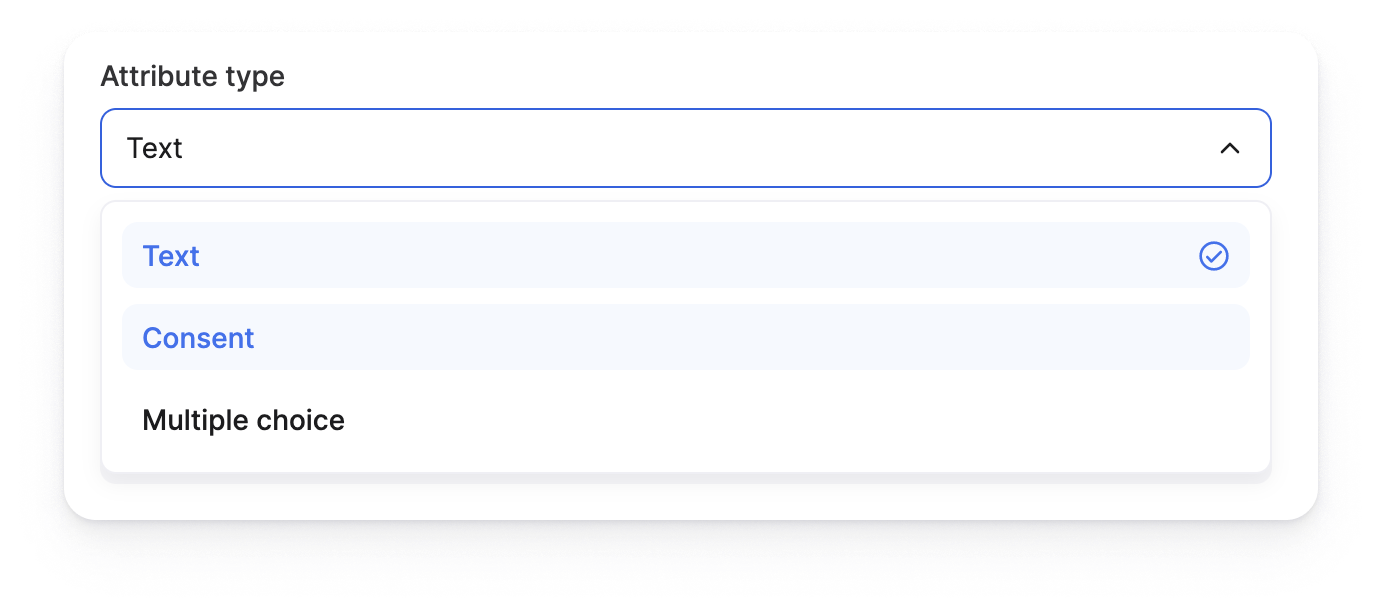
- Select Consent in the attribute type.
-
- 5
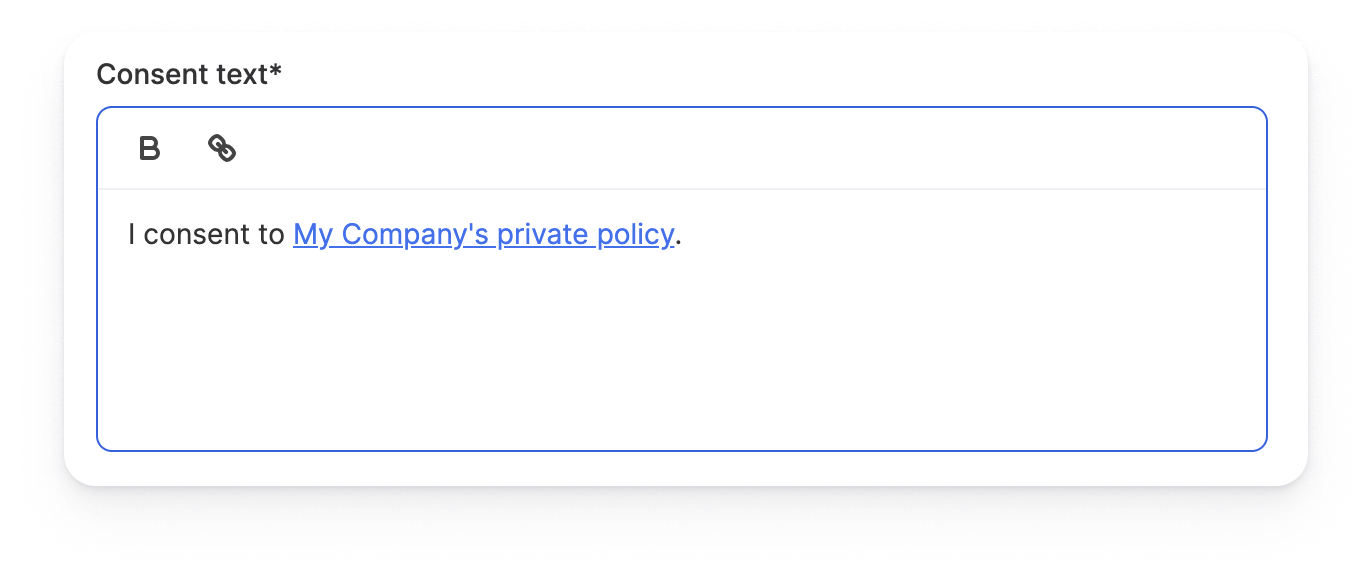
- Add the consent text. The text will be displayed on your registration form.
-
- 6
- Check on the preview if it looks fine and click on Create once you're done.
-
- 7
-
Your new custom consent is added to the People attributes page and can now be used on your registration forms. 🎉
Edit & Delete Custom Consents in Your Workspace
You can edit or delete custom consents in your workspace directly from the People attributes page.
When you edit or delete custom consents, the modification/deletion will be applied to all the registration forms of your events where those consents were added.
Slugs can not be edited.
- To edit custom consents in your workspace:
- 1
- Go to your Account Settings > People Attributes.
- 2
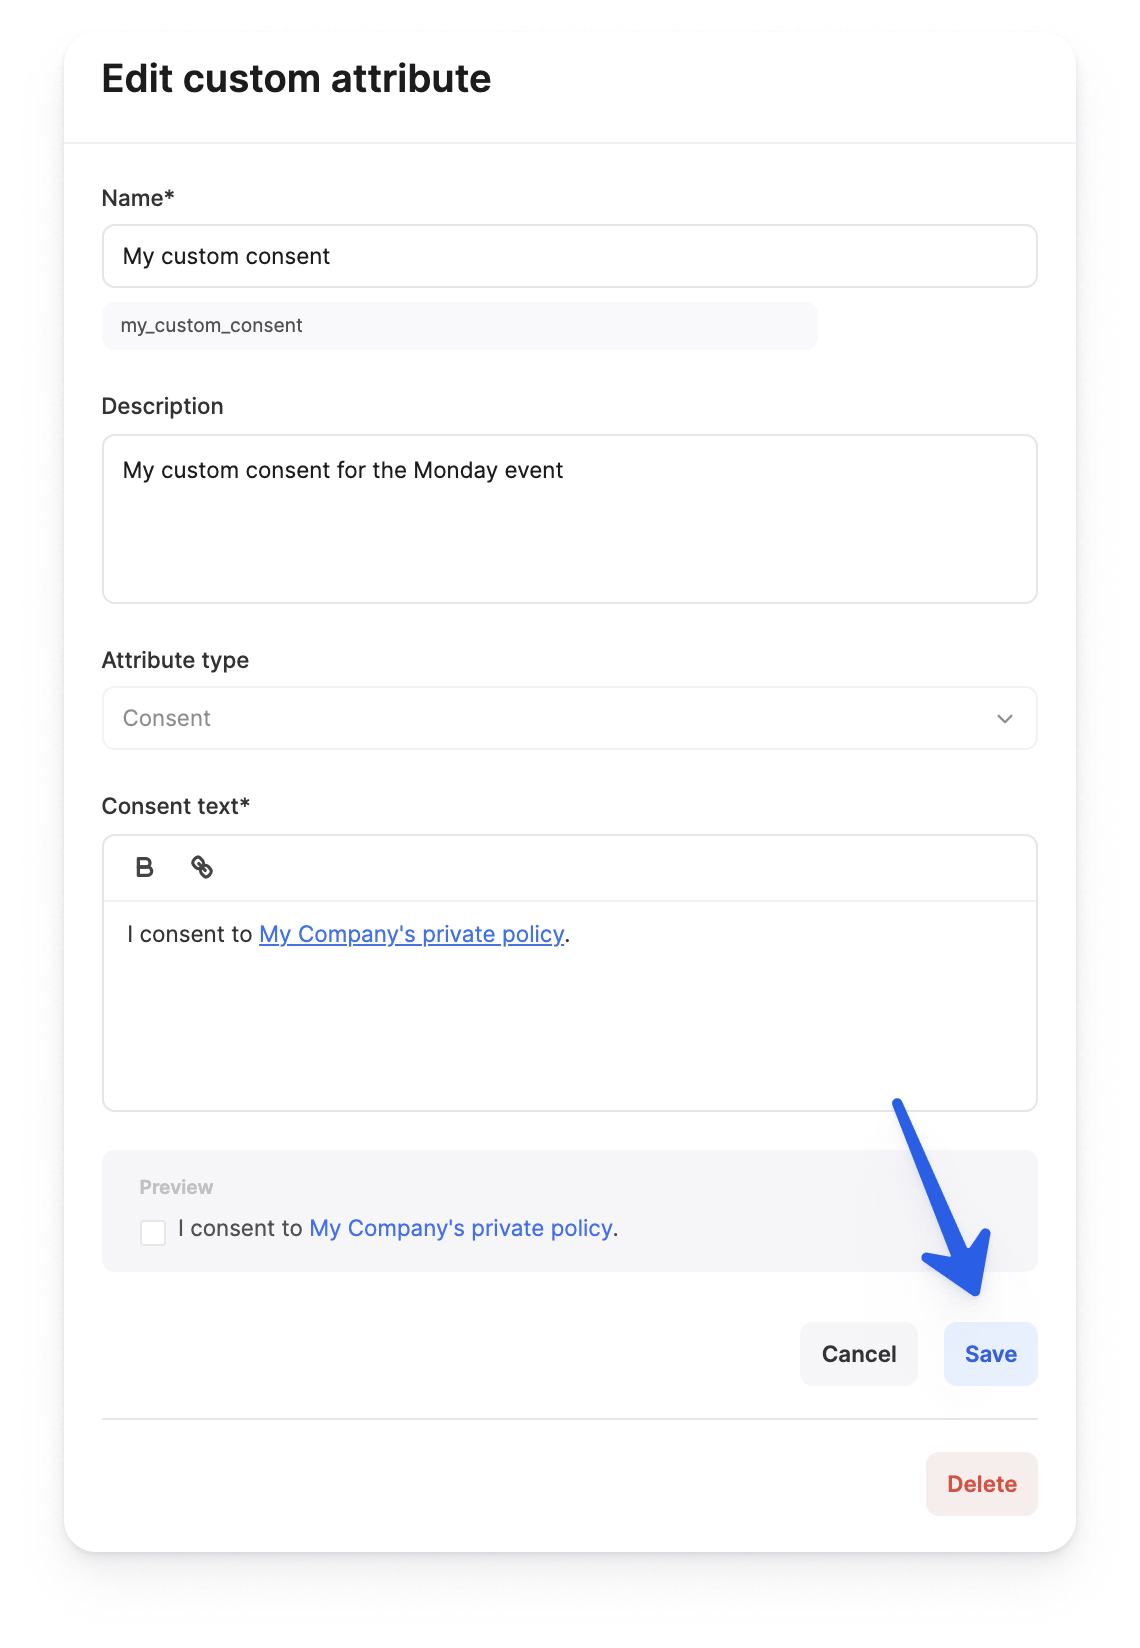
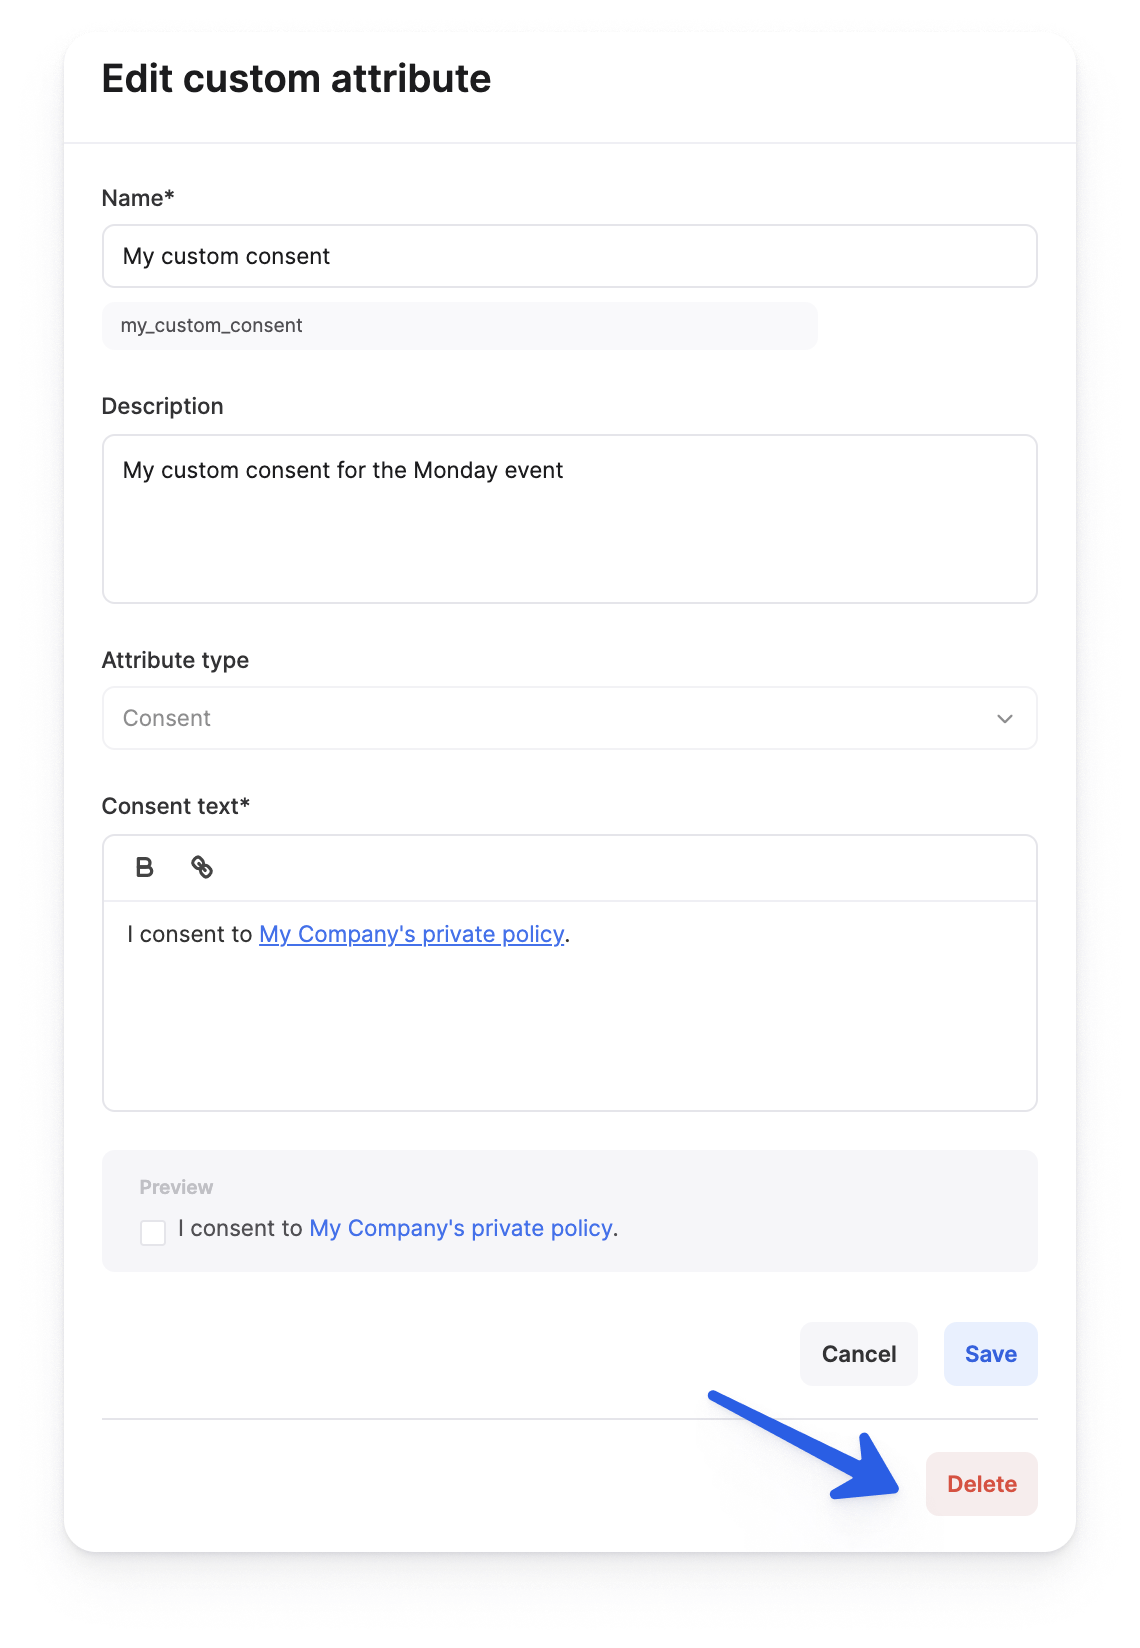
- Hover over your custom consent and click on Edit.
-

- 3
- Edit your custom consent and don't forget to Save it.
-
- To delete custom consents in your workspace:
- 1
- Go to your Account Settings > People Attributes.
- 2
- Hover over your custom consent and click on Edit.
-
- 3
- Click on Delete at the bottom of the side pane.
-
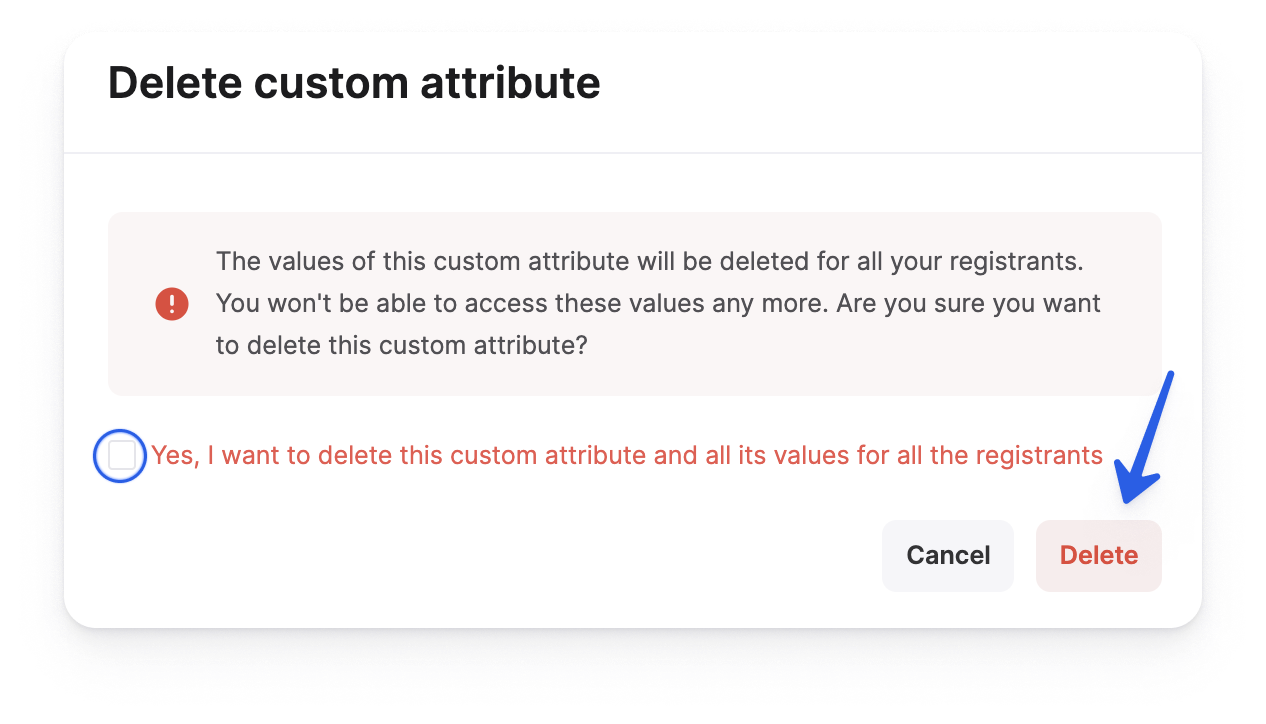
- 4
- Check the box and click on Delete again.
Add a Consent to Your Registration Form
To add your own custom consent to your registration form:
- 1
- Go to your Event Settings > Registration and click on + add a consent.
-
- 2
- Click on the consent you want to add. You can also search for a consent via the search bar.
-
- 3
- The consent is added to your registration form. 🎉
-
- 4
- If you want to make the consent mandatory on your registration page, check the box in the 'Required' column.
-
