This article concerns and old connector managed with a third-party.
🆕 We have now a new native integration (Beta), if you would like to use it, please contact your CSM.
Livestorm Salesforce connector will link your Livestorm workspace with your Salesforce instance.
For the complete overview of our integration with Salesforce, feel free to read our dedicated article.

The Salesforce connector isn't retroactive: sessions created before the integration is activated won't be synchronised as campaigns into Salesforce, and as a result new registration to these sessions won't trigger new campaign members in Salesforce.
Our Salesforce connector is only available to our Enterprise customers with at least an Integrations pack.
In this article
Configure Salesforce with Livestorm
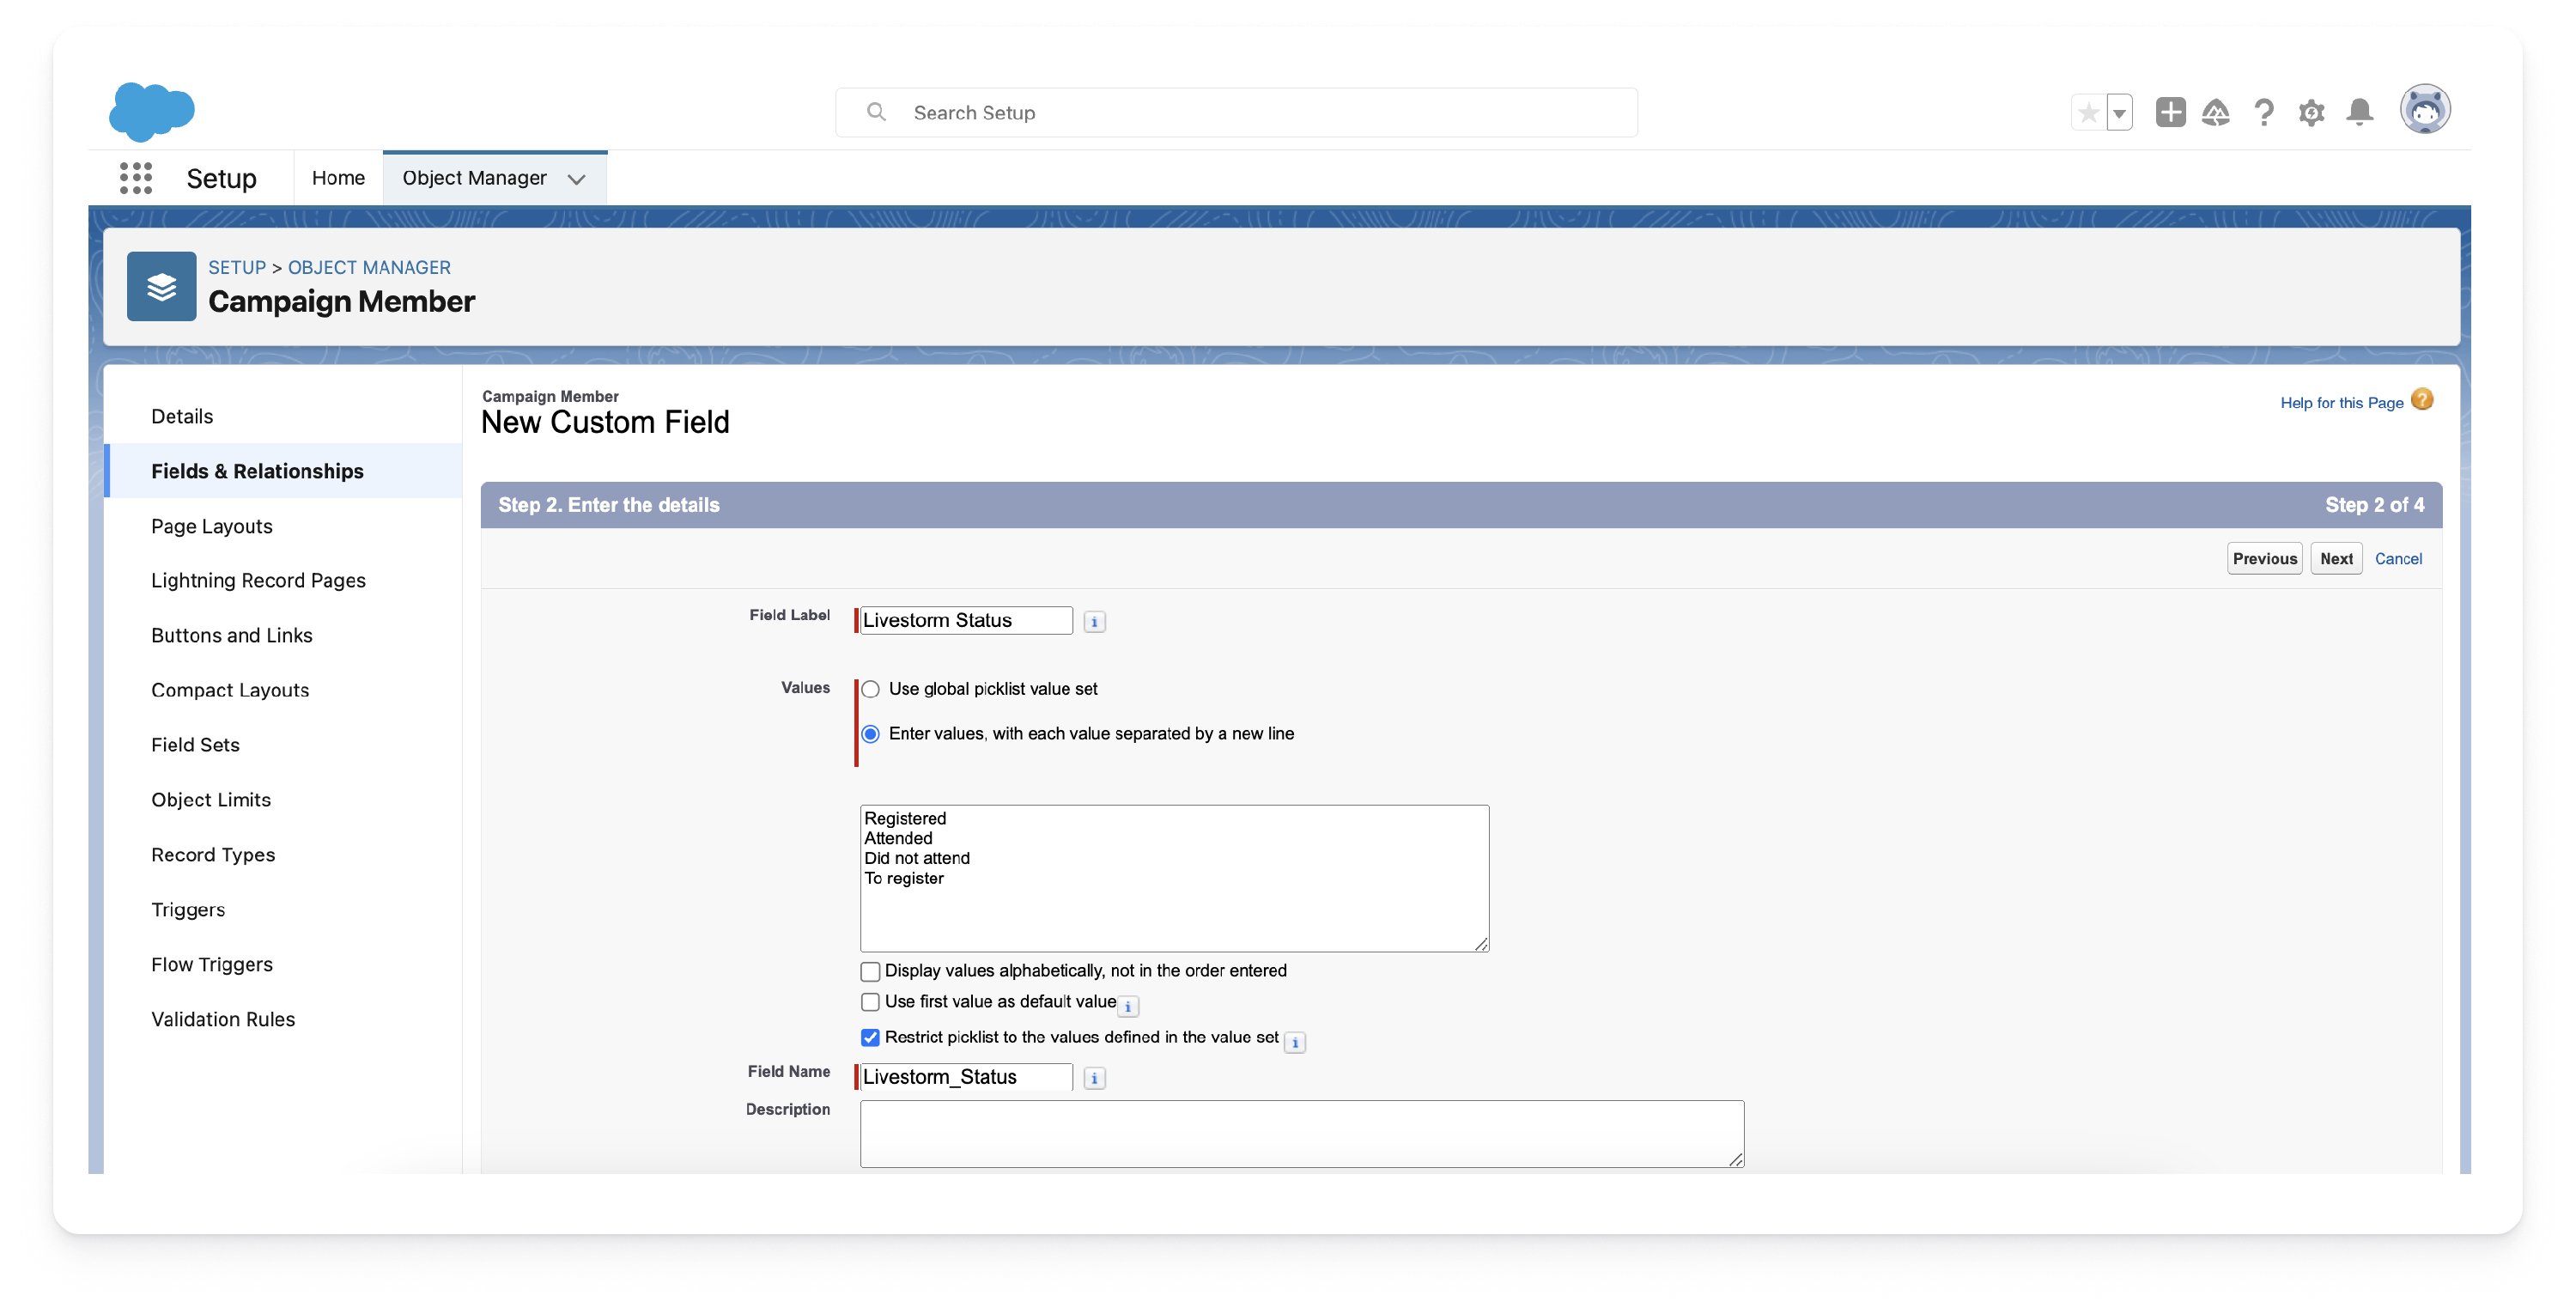
First you will have to create a custom field called “Livestorm Status” on the Campaign Member object in your Salesforce instance.
- 1
- Go into the "Setup" menu by clicking on the gear on the top right corner of your Salesforce home screen.
- 2
- Follow the path: Objects and fields > Object Manager > Campaign Member > Fields and relationships > New
- 3
- Select the data type Picklist and click on Next.
- 4
- Set the Field Label to Livestorm Status. Make sure that the API Name of the field is "Livestorm_Status__c". If there is any misspelling or typo in the API Name of the field, the connector won't function properly.
- 5
- Select the second option in values, Enter values, with each value separated by a new line and add the following values:
- Registered
- Attended
- Did not attend
- To Register
- 6
- Click Next until you get to the last step 4/4 and then click on Save.
- 7
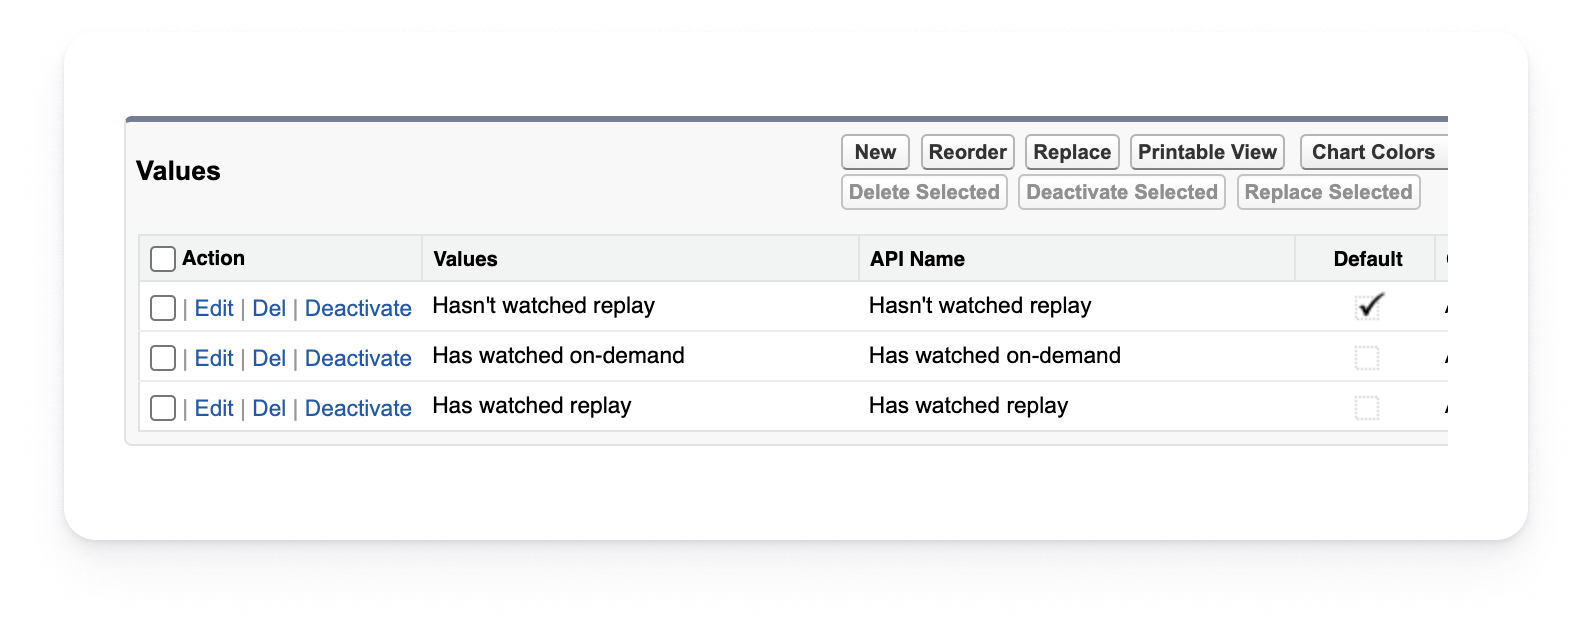
- Now, create another custom field named "Livestorm Replay Status", still on the campaign member object and with the same settings as the one we just created. Make sure that the API name is “Livestorm_Replay_Status__c”. Add the following values in the field:
- Hasn't watched replay (set this value as the default value)
- Has watched replay
- Has watched on-demand
Configure the Livestorm Salesforce Integration
Once your Salesforce is setup, let's see how to configure the Livestorm Salesforce!
- 1
- Go to https://livestorm.integry.io
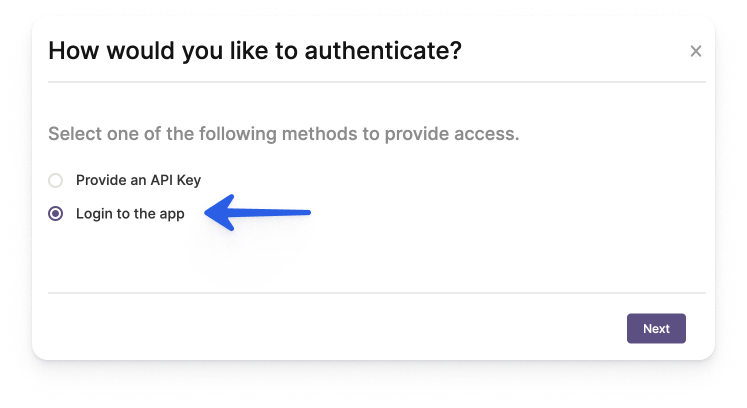
- 2
- On top right corner, click Sign In and log into your Livestorm account selecting the Login to the app option.
-
- 3
- Select the Salesforce card and click on Setup.
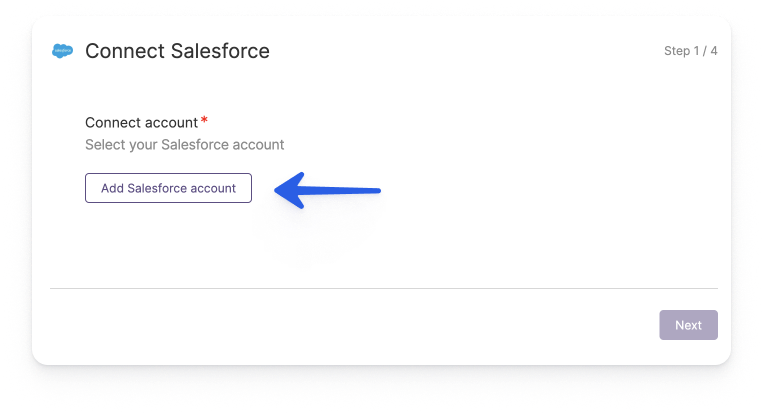
- 4
- Connect your Salesforce account.
-
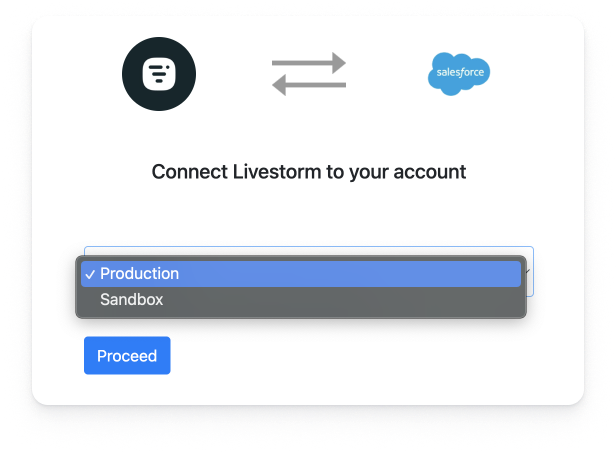
- 5
- If you are using a Production environment, select the Production option, or select the Sandbox option if you're using a Sandbox environment, and click Proceed.
-
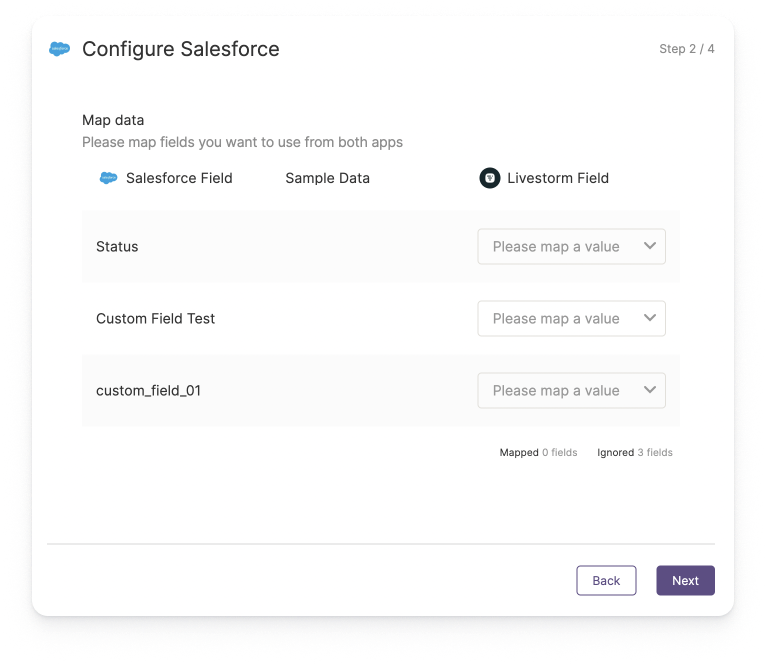
- 6
- Now the fun part begins! You will be asked to map the fields of your Salesforce Campaign Member object with the fields available on the Livestorm Registrant object: for every Salesforce Campaign Member field that you want to fill with Livestorm data, simply select the corresponding Livestorm field. You will also see your own custom fields in the list, allowing you to tailor the flow to your specific rules and needs.
-
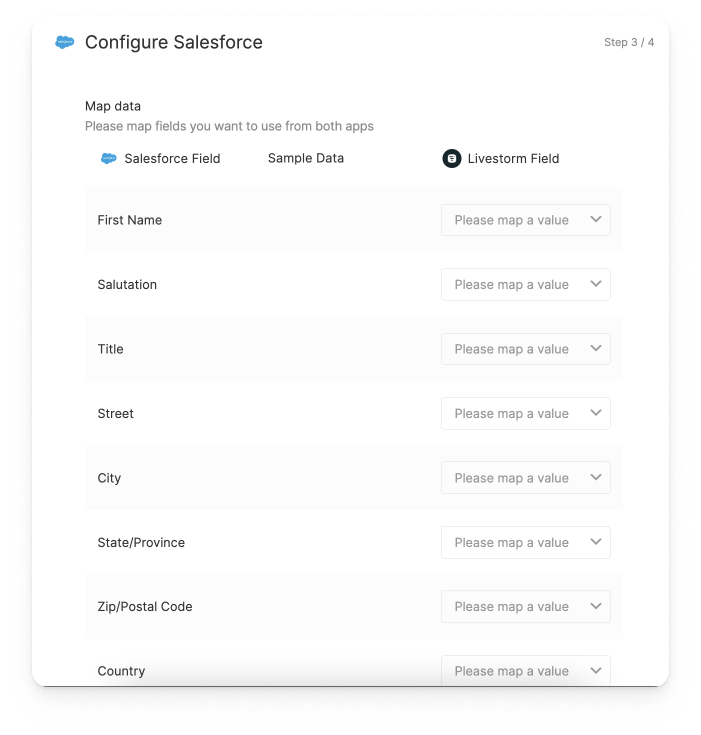
- 7
- You will then be asked to map the fields of your Salesforce Lead object with the fields available on the Livestorm Registrant object: for every Salesforce Lead field that you want to fill with Livestorm data, simply select the corresponding Livestorm field. You will also see your own custom fields in the list, allowing you to tailor the flow to your specific rules and needs.
-
The "Last Name" field isn't displayed in the mapping menu, simply because it is a mandatory field for the lead creation in Salesforce, and as such it is already included in our Salesforce connector by default.
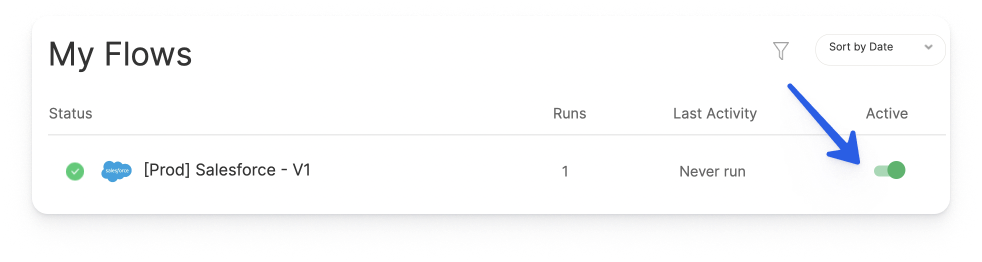
- 8
- Your integration with Salesforce is ready to be enabled, all you have to do is click Save. You will then see the new flow created, just make sure that it is set to active and you are good to go!
-
The integration is activated across all of your events by default, so you won’t have to enable it for each event in the Livestorm platform like in other integrations.